I was hoping to finish off the top and bottom coil end caps today but this didn't work out. I needed to bond an acrylic plug into the central hole in the bottom cap. This is to close up the hole needed to mount the coil in the winding jig.
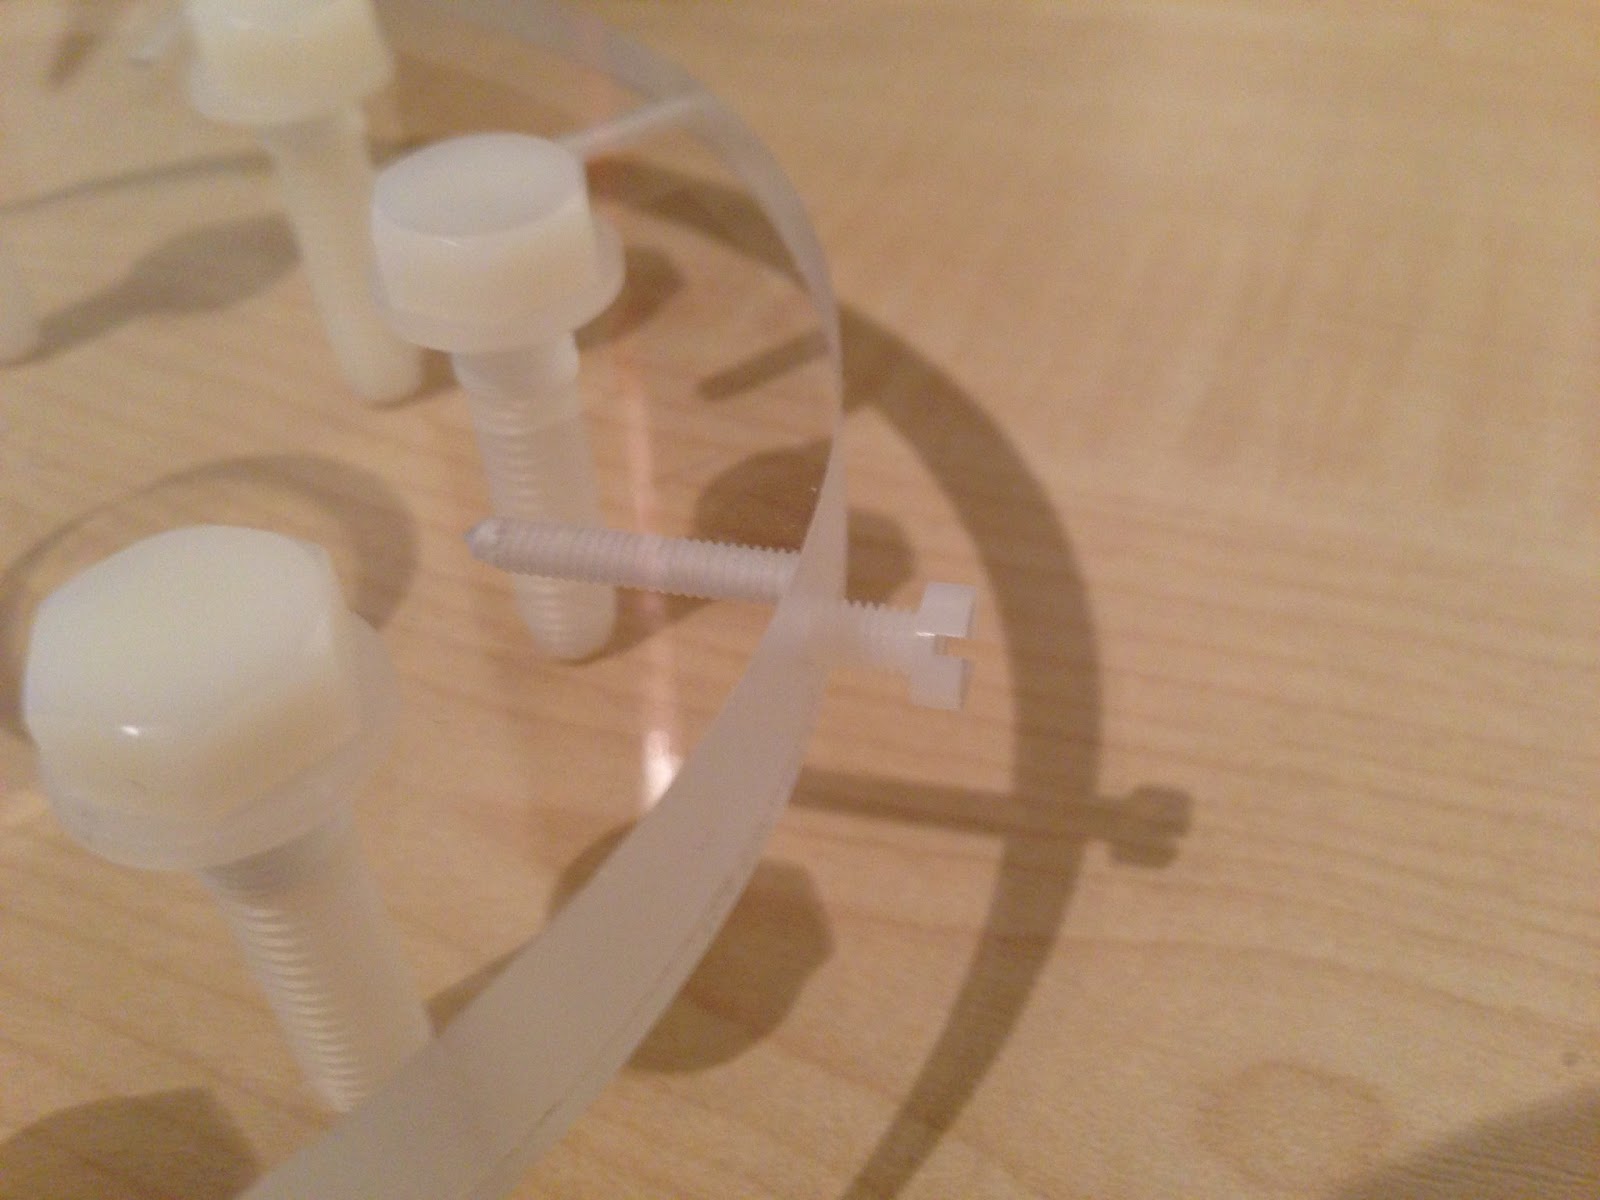
I also trial fitted the eight nylon bolts that will hold the coil down onto the Tesla body.
Here's a close-up of the plug in place. I also planned to bond the toroid mounting assembly to the top cap of the coil. This would, again, close up the hole needed for the winding jig.
Bonding was going to be achieved by using Tensol acrylic cement which a had purchased a while back from
Trent Plastics. When I dug out the bottle the liquid was thicker than I had anticipated. From videos I had seen, bonding sheet acrylic was done using a water-like solvent that used capillary action to penetrate between two close fitting acrylic sheets. The liquid I had was like syrup and there was no way this would seep into a fine gap. I assumed all Tensol was the same and you know what they say about assumption. After a bit of investigating I think I have Tensol 12 which can be used for bonding gaps between rougher cut acrylic pieces. Tensol 70 is the version more suited for close fitting sheet acrylic but it was averaging out at £40 and minimum qty 500ml. Too much and too much. More homework was needed.
Here's what I found out. These water-like acrylic cements don't actually "glue" things together. It's more like a weld. The solvent dissolves the surfaces of the two pieces and the molecules merge from either side. The solvent evaporates and the two pieces become one. The solvent in these cements is Methylene Chloride also known as Dichloromethane. It's pretty nasty stuff but apparently it's all you need to bond close fitting acrylic and you can get it from eBay or Amazon. I paid £4.79 for 250ml, delivery was almost £8.00 because of it's hazardous nature. It should turn up tomorrow so will try it and let you know.
Anyway, crack on. I bought some shorter (12mm) cheese head slotted M4 nylon screws to fix the top and bottom caps in place. The 20mm bolts are a bit excessive!
If you like this blog you can show your support by one or all of these.
1. +1 my blog and email it to a friend.
2. Follow me.... It's good to know someones interested.
3. Leave a comment.... All are appreciated.