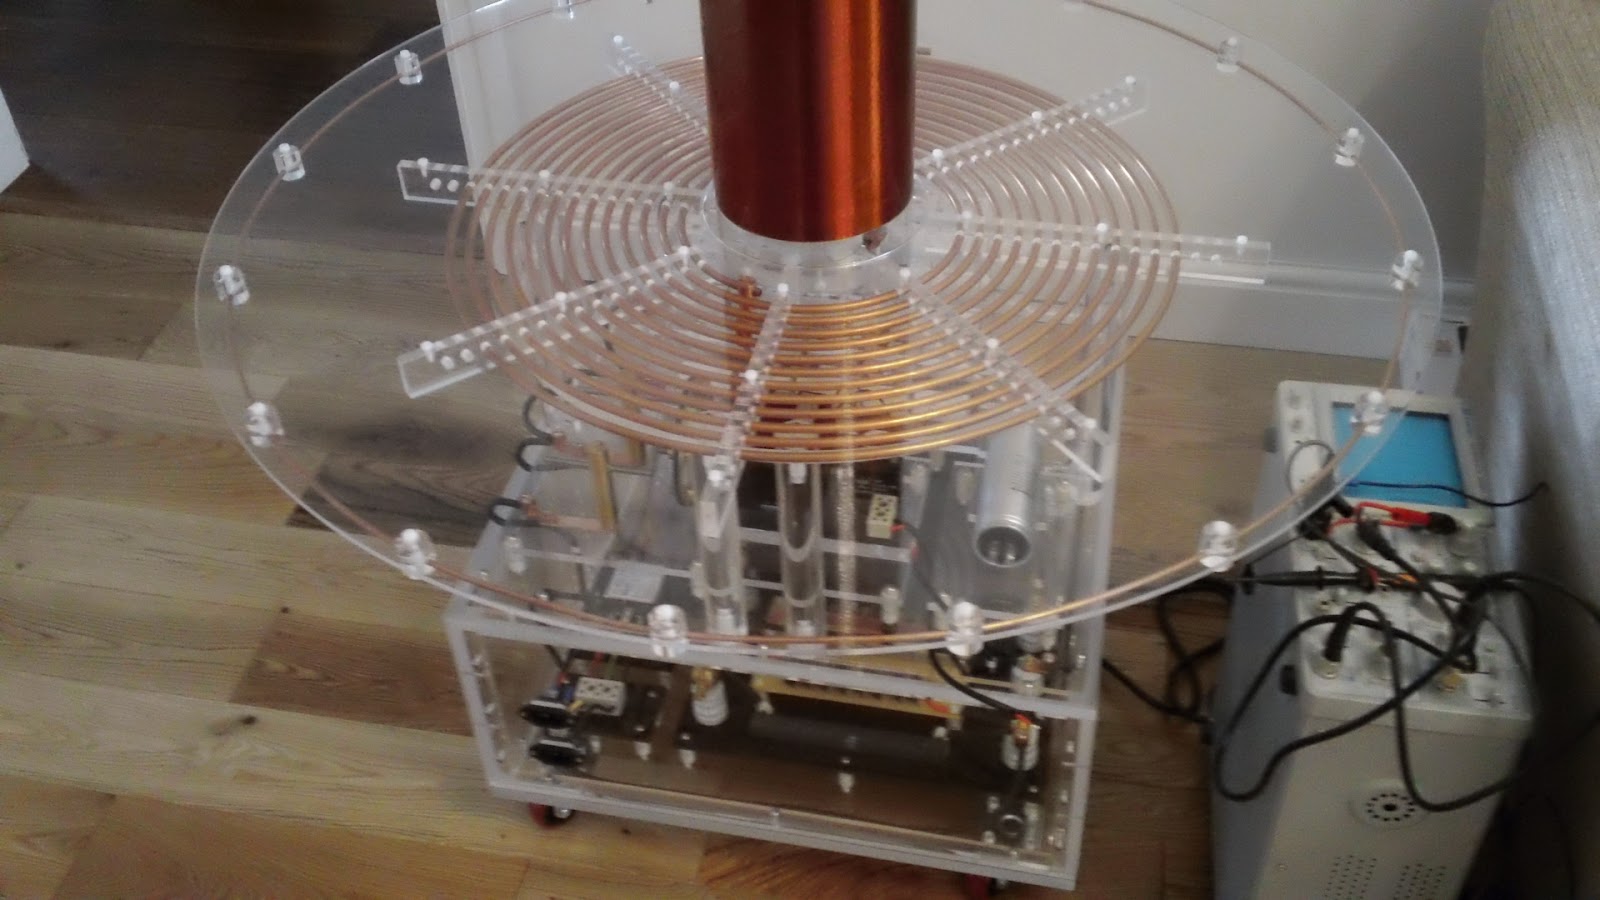
A few weeks back I made a very nice copper clamp pin which would be used to connect the inner end of the primary coil to the HT lead from the synchronous spark gap (SSG).
The hole at the top will accomodate the inner end of the primary coil and the threaded section will pass through a hole in the primary coil support disc and then the electrical lug will accept the HT lead to the SSG.
First job today was to drill the hole for this clamp pin.
The picture above clearly shows the primary coil support disc, it's the white disc sitting under the radial primary combs. It's white as it still has its protective coating and a layer of masking tape. To drill the hole needed I would need to remove this disc so after marking the hole position I started disassembly. I removed the toroid, the secondary coil and the primary coil assembly which only took a few minutes. The primary coil support disc was removed by undoing the 8 allen key bolts (stainless of course) that screw through the disc into the perspex support columns. I drilled the 9mm hole required for the clamp pin and then removed all the protective coating from the primary coil support disc.
The primary support disc was refitted and the clamp pin slipped over the inner end of the primary coil and the grub screws tightened. The primary coil assembly was then lowered down onto the support disc making sure the clamp pin threaded end lined up with the clearance hole. It did!!
Above is a close look at the clamp pin in situ. Very happy with design, it allows an easily removable electrical connection to the primary coil.
A shot from underneath shows the copper lug bolted to the threaded end of the clamp pin.
I've done a few more pics of the assembled tesla base as this is the first time all protective coatings and masking tape have been removed.
And finally a full length shot with the secondary and toroid back in place.
If you like this blog you can show your support by one or all of these.
1. +1 my blog and email it to a friend.
2. Follow me.... It's good to know someones interested.
3. Leave a comment.... All are appreciated.
This is my blog of current hobbies, at the moment that happens to be all things Tesla so I have decided to build a Tesla coil and, as usual, I will go completely over the top with it.
Showing posts with label tapping perspex. Show all posts
Tuesday, 24 April 2012
Friday, 30 September 2011
Secondary base finished
Just got in from the garage. Spent a couple of hours drilling and tapping the holes in the secondary coil and the bottom disc.
The eight holes around the perimeter are tapped to accept 20mm M4 bolts which will pass through corresponding 4mm holes in the secondary coil. The other eight holes started as 7mm plain holes and were then tapped to M8. They will be used to bolt the secondary coil down to the base.
The holes were drilled with the disc in situ inside the secondary coil. The drill size required is 3.3mm. After drilling the components were separated and the disc tapped to M4. The 3.3mm holes in the secondary were opened up to 4mm.
Here you can see the base disc bolted inside the secondary coil. Think it looks great and, as usual, completely over engineered.
I have used nylon bolts, not sure if it would be OK to use metal so opted for nylon.
The eight holes around the perimeter are tapped to accept 20mm M4 bolts which will pass through corresponding 4mm holes in the secondary coil. The other eight holes started as 7mm plain holes and were then tapped to M8. They will be used to bolt the secondary coil down to the base.
The holes were drilled with the disc in situ inside the secondary coil. The drill size required is 3.3mm. After drilling the components were separated and the disc tapped to M4. The 3.3mm holes in the secondary were opened up to 4mm.
Here you can see the base disc bolted inside the secondary coil. Think it looks great and, as usual, completely over engineered.
I have used nylon bolts, not sure if it would be OK to use metal so opted for nylon.
Labels:
drilling acrylic,
drilling perspex,
how to build a tesla coil,
joining perspex,
secondary coil,
Secondary coil end cap,
tapping perspex,
tesla coil toroid,
tesla secondary coil,
trent plastics,
winding a scondary coil,
winding secondary coil,
Тесла катушки
Subscribe to:
Posts (Atom)